

Hot Scrapbooking Posts


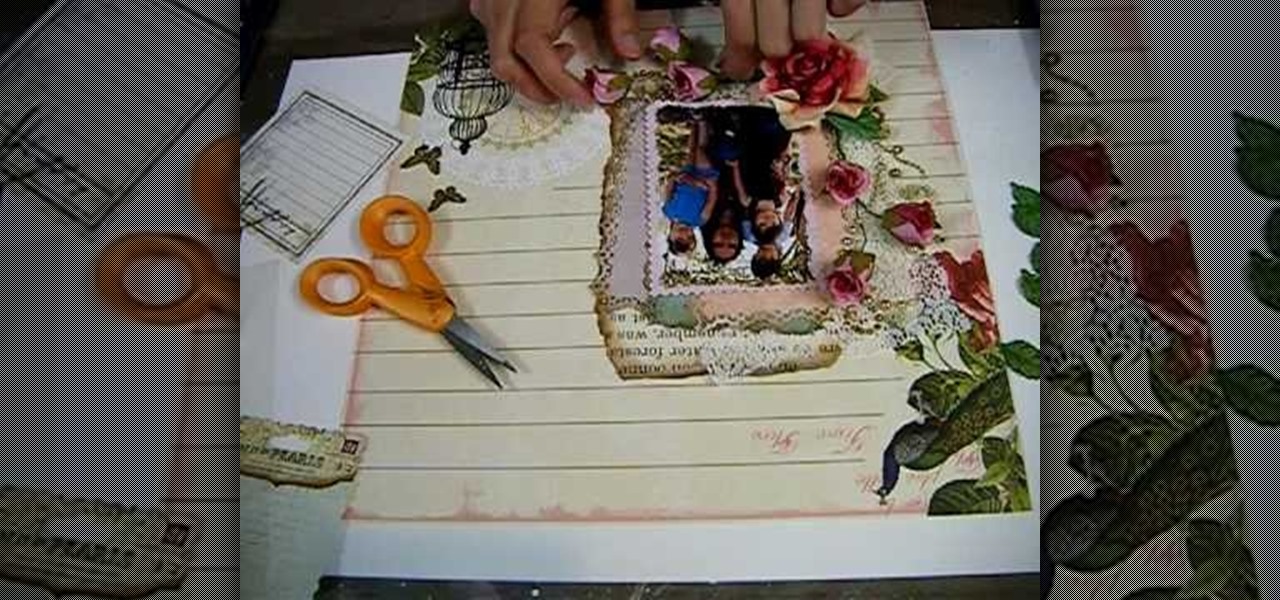
How To: Craft a "Time Flies By" scrapbook layout for photos
Do you have an old picture of you and your family from when you were a little kid that you want to keep in perfect condition but not stored away in to dusty old album in the attic? Then watch this tutorial to learn how to create a "Time Flies" scrapbook layout.
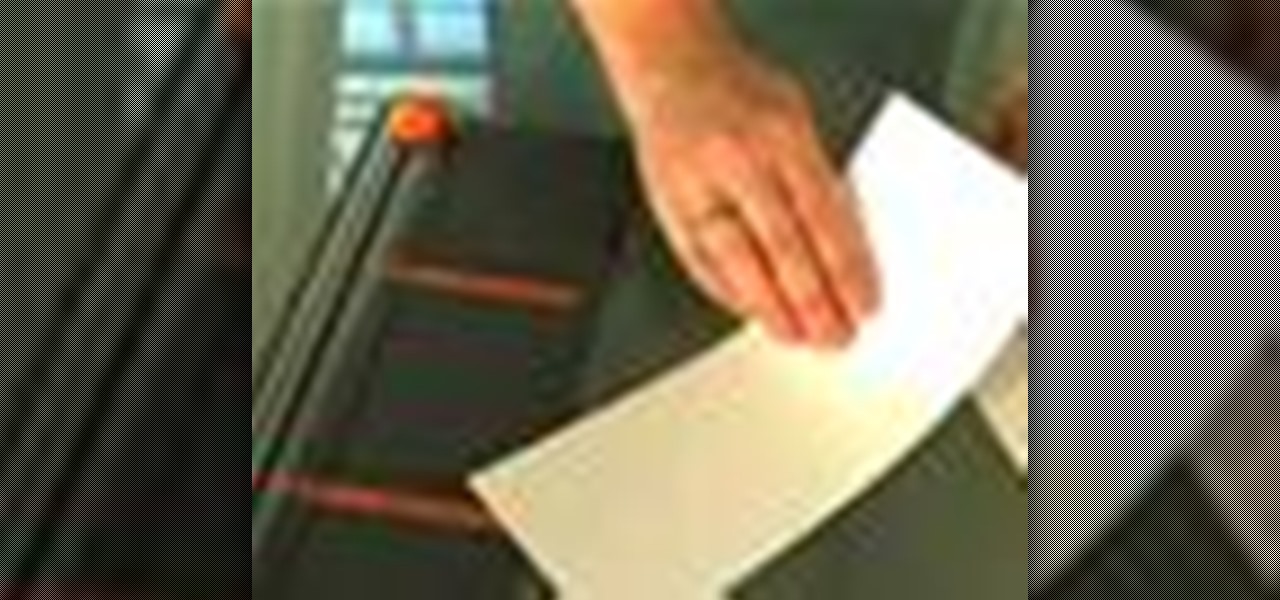
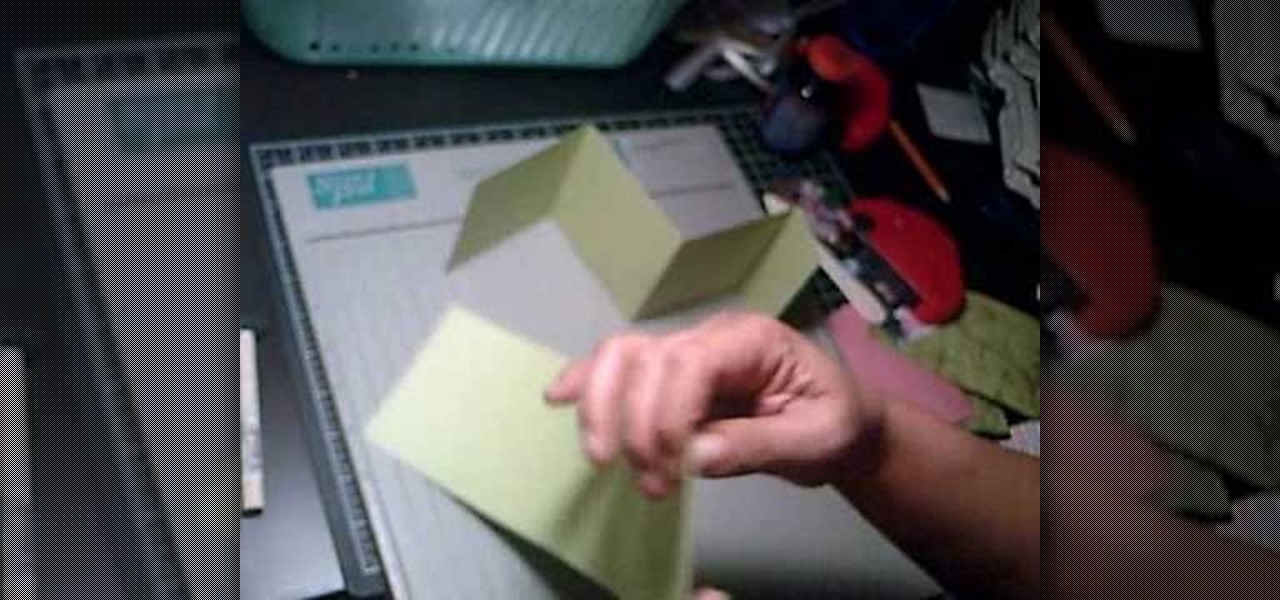
How To: Make a star picture album greeting card or scrapbook
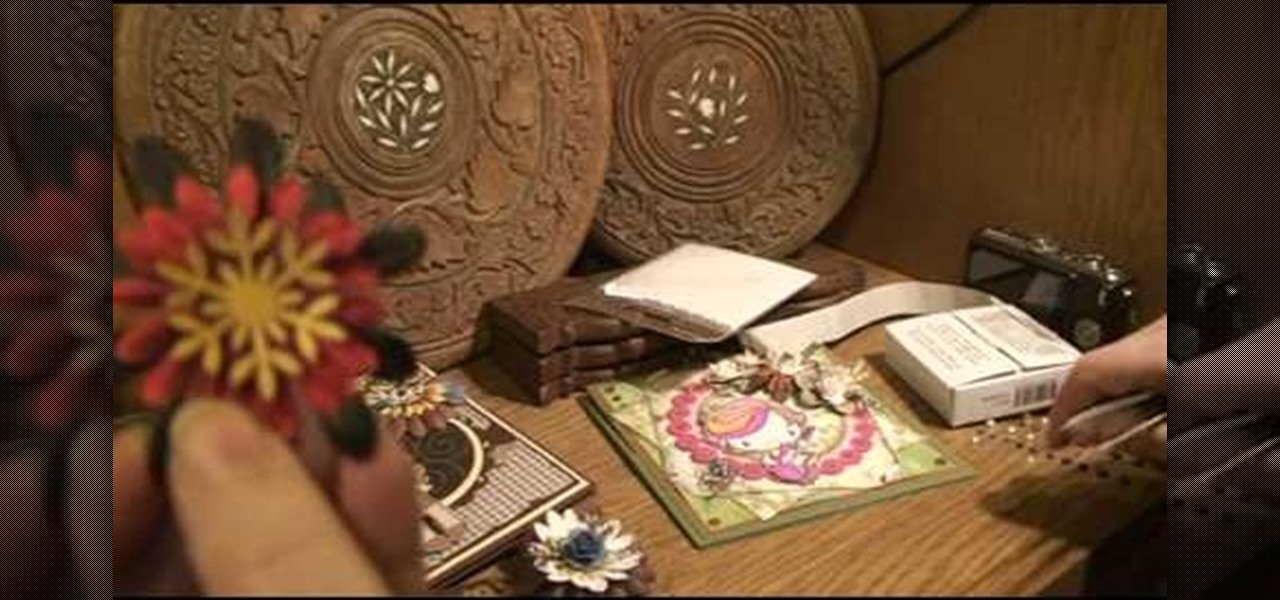
See all the steps required to make this nifty photo album, which can be used as a picture greeting card or a simple scrapbook for yourself. Despite its complicated look, it's really not that hard to make. This stunning star album card can be made up as cards including many messages, pics, stamps, etc., or they can be made up as miniature scrapbook albums — especially great for kids after a special day out. It's good for a series of "happy" photos to cheat someone who needs "get well" messages.
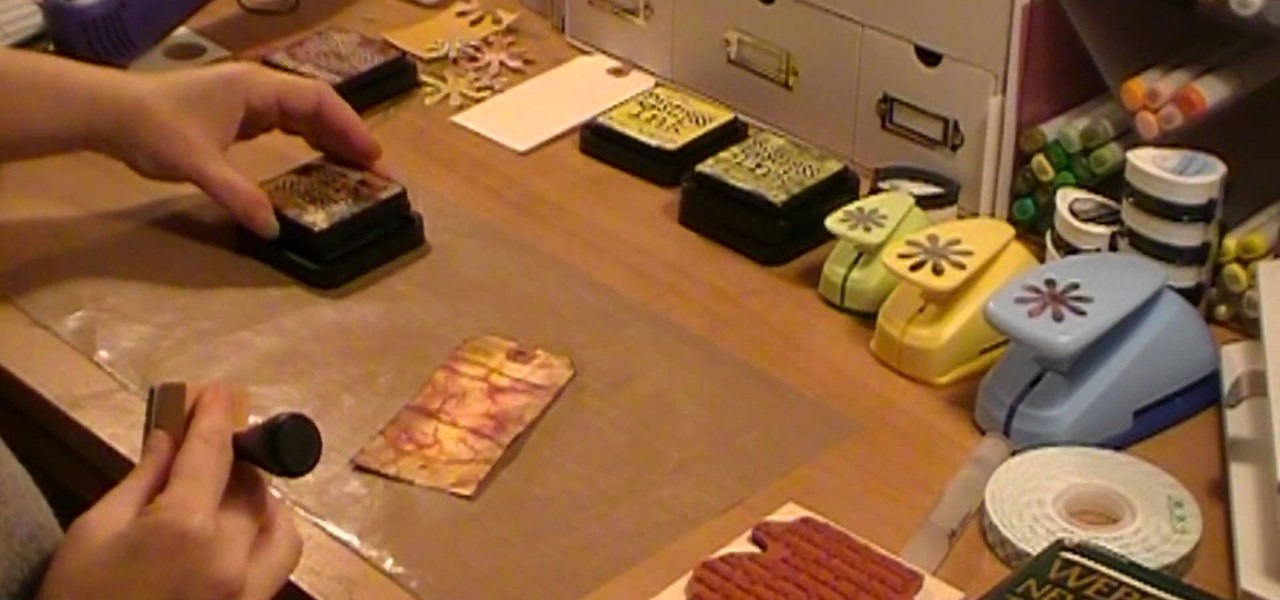
How To: Create a Tim Holtz or autumn inspired distressed tag
Donna50242 shows us how to make an amazing looking tag to use on different things. This video is in response to another one posted earlier. This tag is made be crinkling up an ordinary brown paper tag and then flattening it out to create the worn out wrinkle effect. Using a distressing inking tool with a foam pad, we apply the ink in a swirling motion. using different colors from the ink set (Mahogany, Mustard seeds, green etc), we can create amazing effects. And that's it, your done! Try exp...
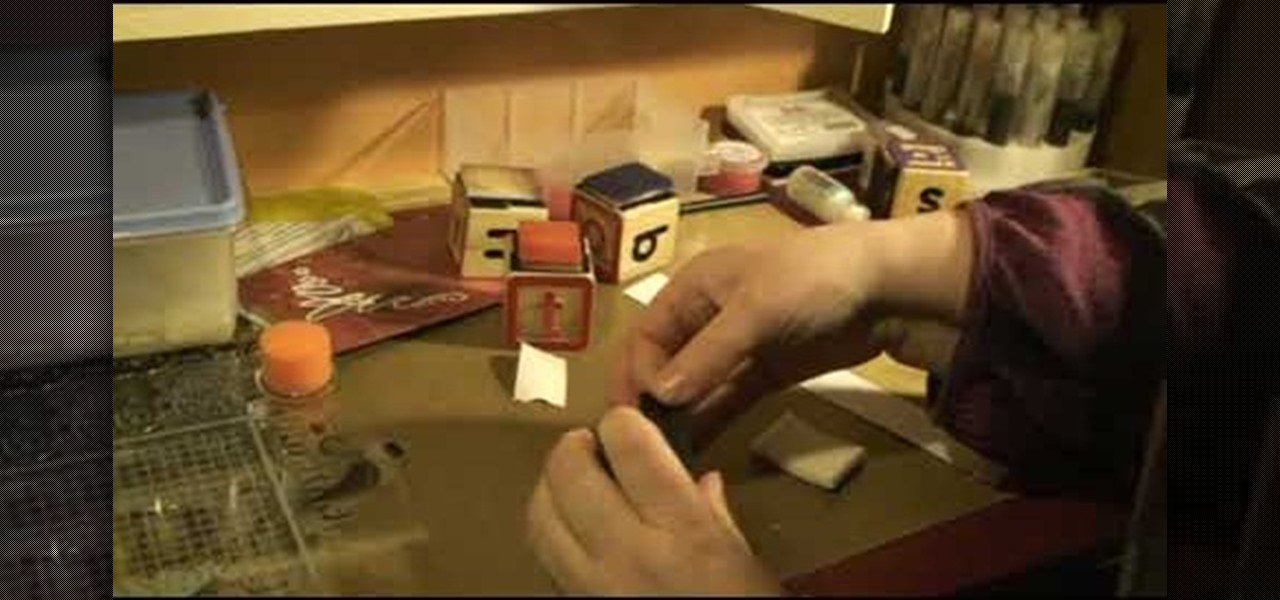
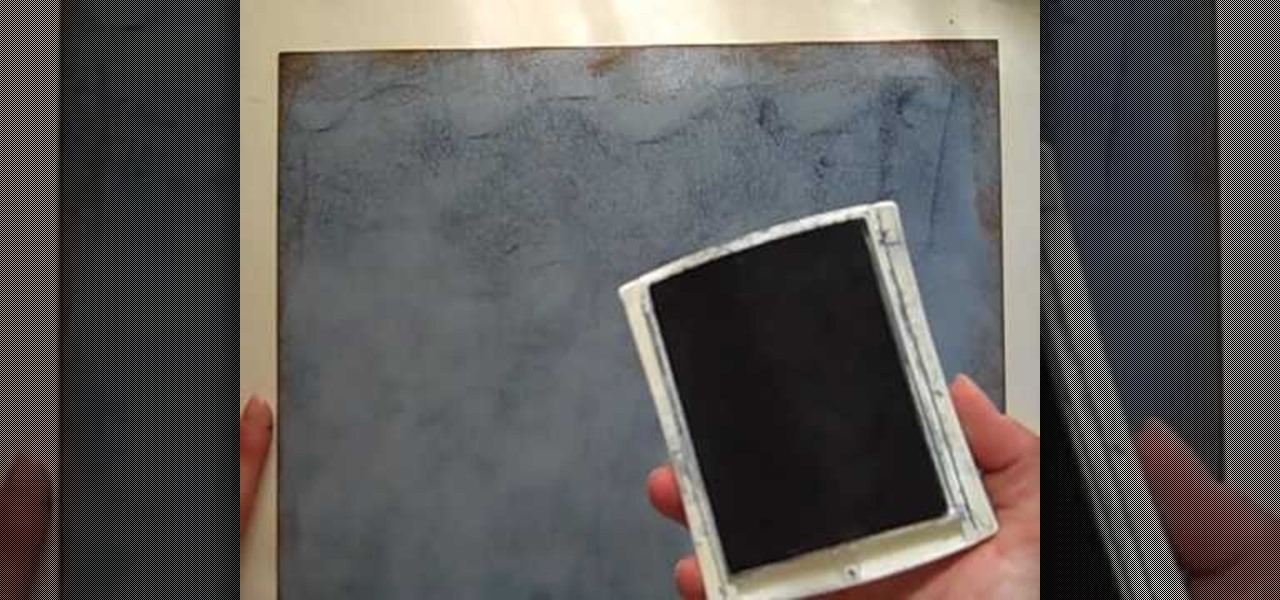
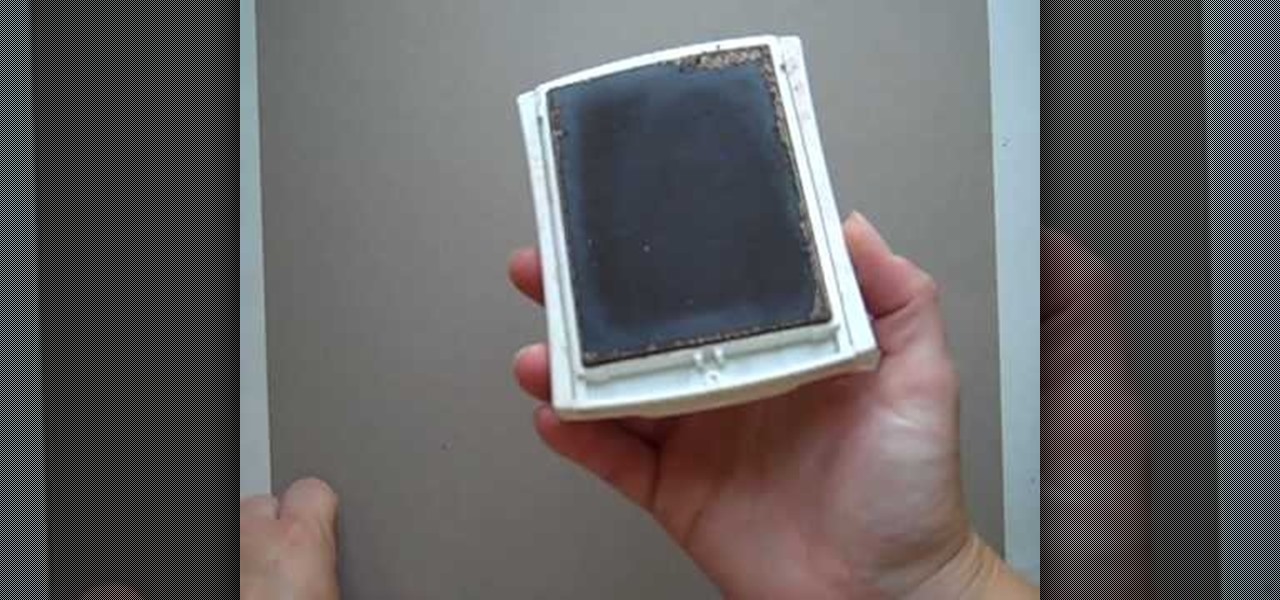
How To: Make a homemade foam applicator tool for distressing
This how to video shows you how to create your own home made foam applicator for blending. This will be useful as you can use items you can find at home and save money. You will need a piece of wood, such as a child's letter block, a piece of foam, and two pieces of velcro. Stick the pieces of velcro on to the block. From there, stick the foam applicator on top of the velcro. Once this is done, you are ready to use your very own home made foam applicator. You can use this for blending and oth...

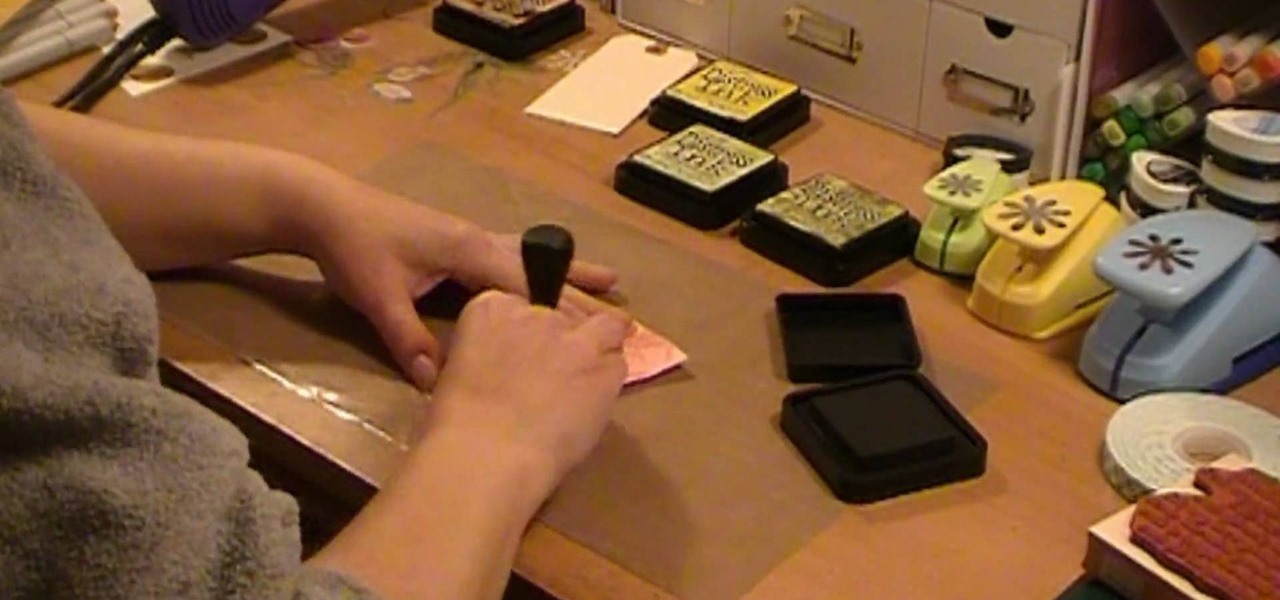
How To: Distress a tag using Tim Holtz distress inks
First of all you have to arrange for materials like ink blending tool, ink blending foam, some tags to be used as practice surface and a distress ink pad. The tutor advises that you must not use a blending tool like a stamp and never make a lot of impressions using it on any surface. Instead of stamping the ink on the surface like a stamp you have to be careful while using it. Use a blending tool in such a way that the whole ink goes slowly onto the tag. Start by working the blending tool on ...
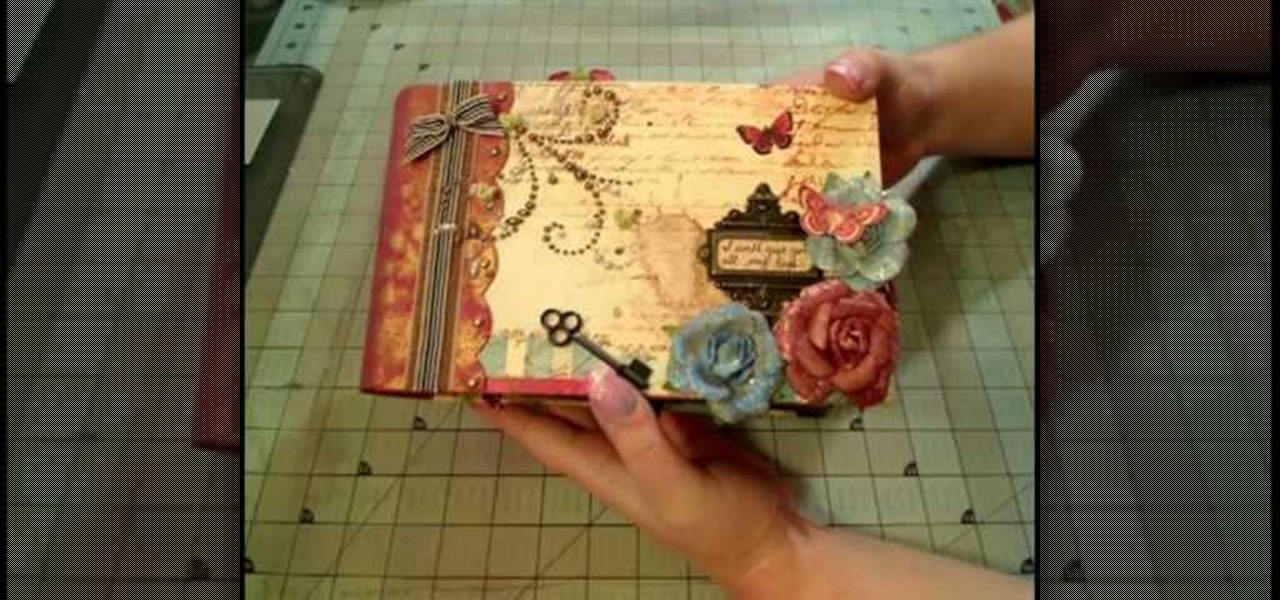
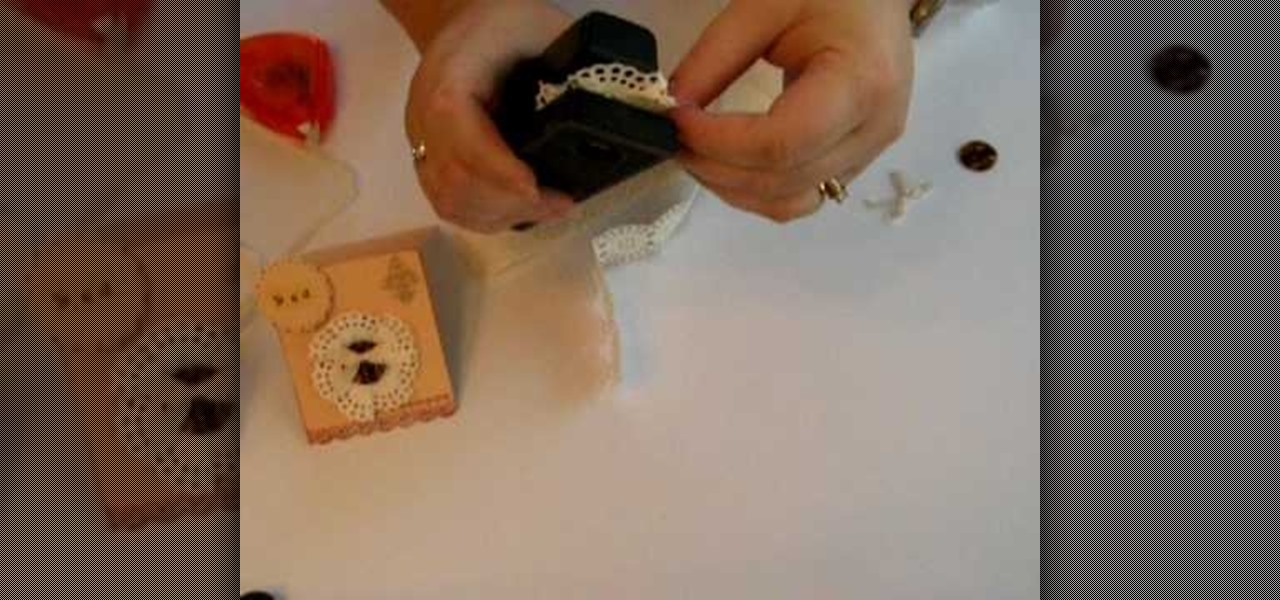
How To: Make a prima "Pastiche" paperbag album
How to make a Prima "Pastiche" Paperbag Album. The demostrator shows us how to make a Prima "Pastiche" Paperbag album. Take a french paper, apply fix some pearls, old keys, artificial flowers, key mantle, all this for the back cover of the album.
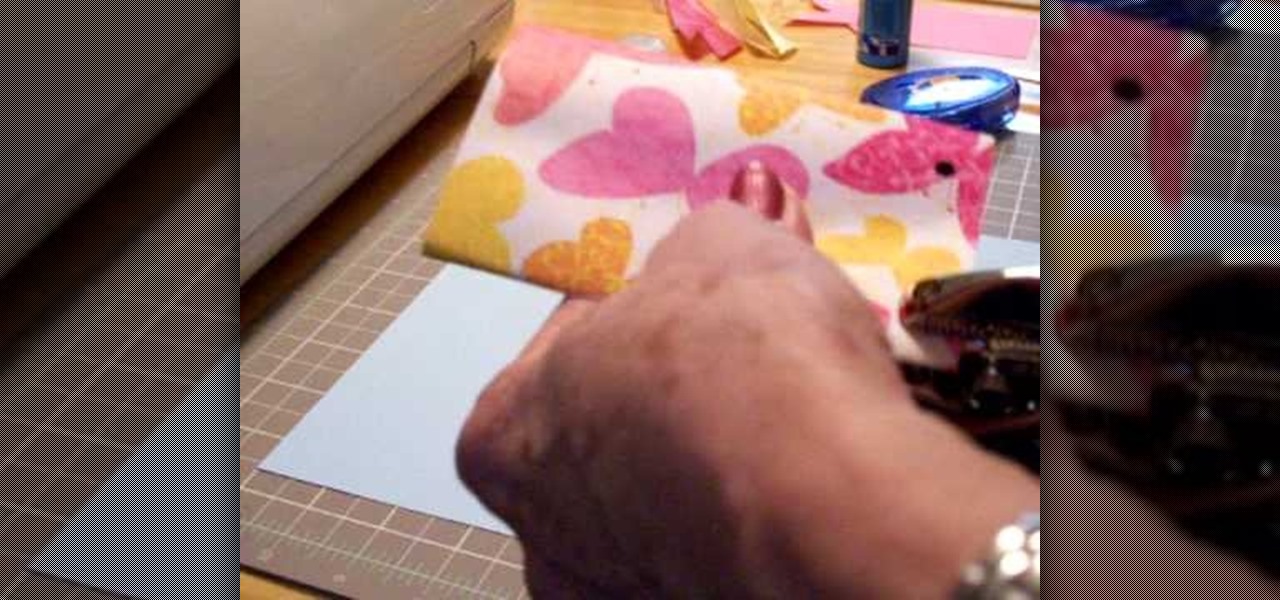
How To: Make flower arrangements on a card
In this Arts & Crafts video tutorial you will learn how to make flower arrangements on a card. To make this you will need punched out pieces of flowers, snowflakes and leaves of different shapes, sizes and color. You will also need some small size paper flowers, glue dots and cards. To make flowers, you can take a rose and twist the wire stem around a paintbrush to give it a curly shape. Then put a glue dot below the rose and attach it to a punched out snowflake. Take some punched out branche...
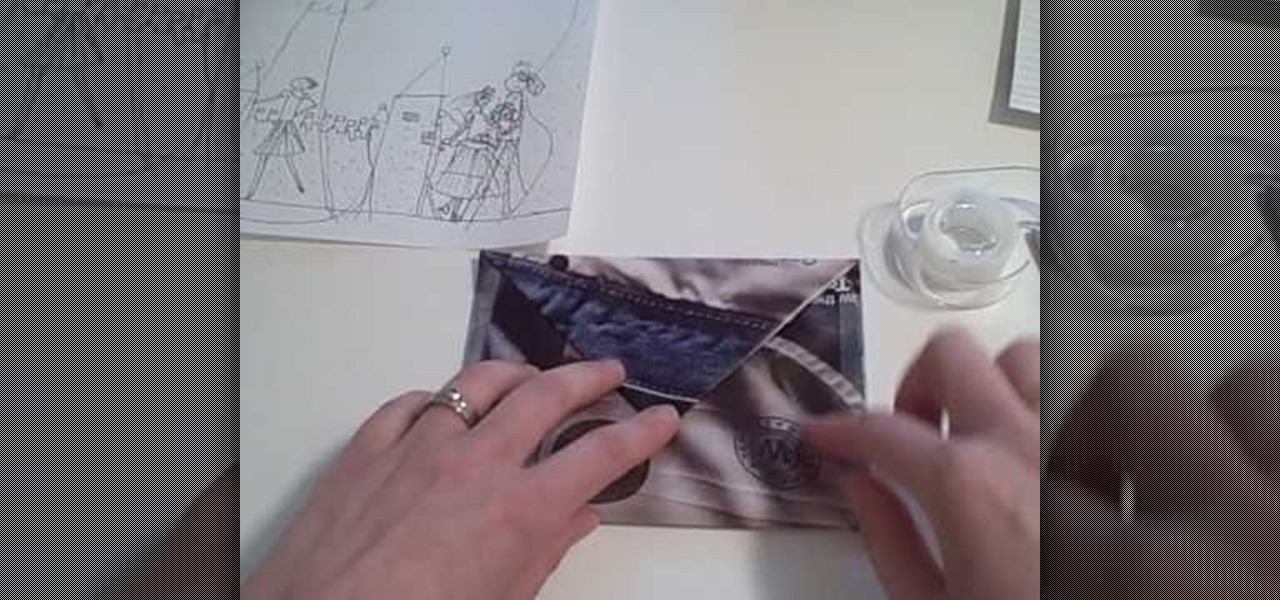
How To: Make handmade paper envelopes
Everyone loves the personal touch of a homemade greeting card, so why send such a beautiful gift in a plain white envelope? To maintain the crafty beauty of your card, why not make a custom envelope to go with it?
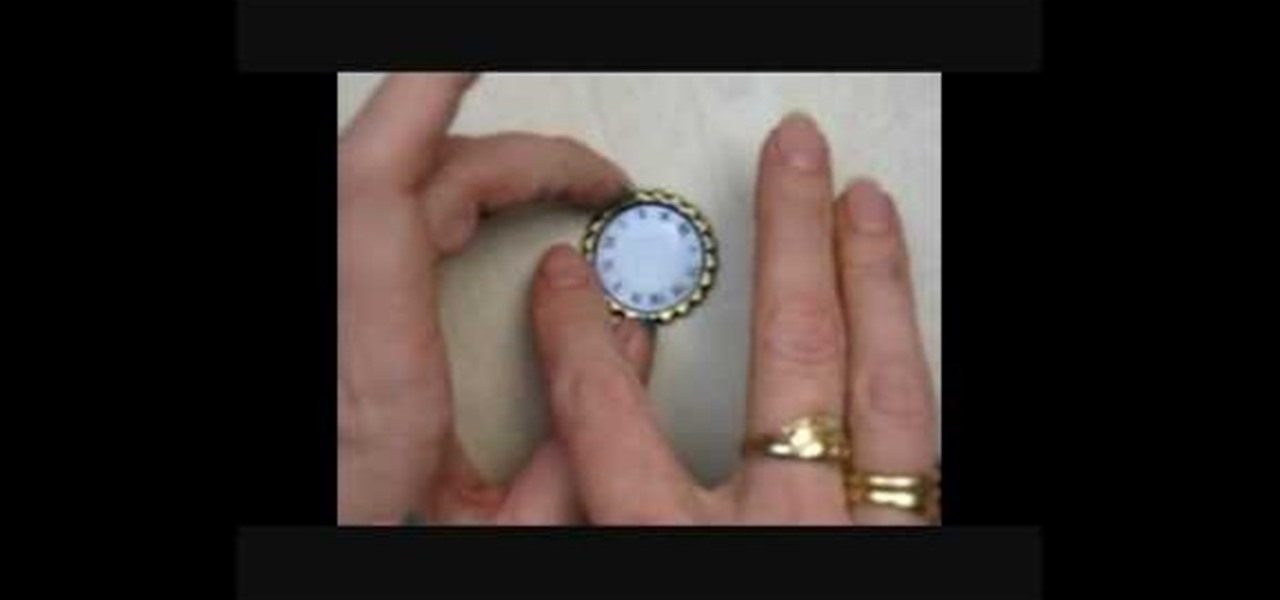
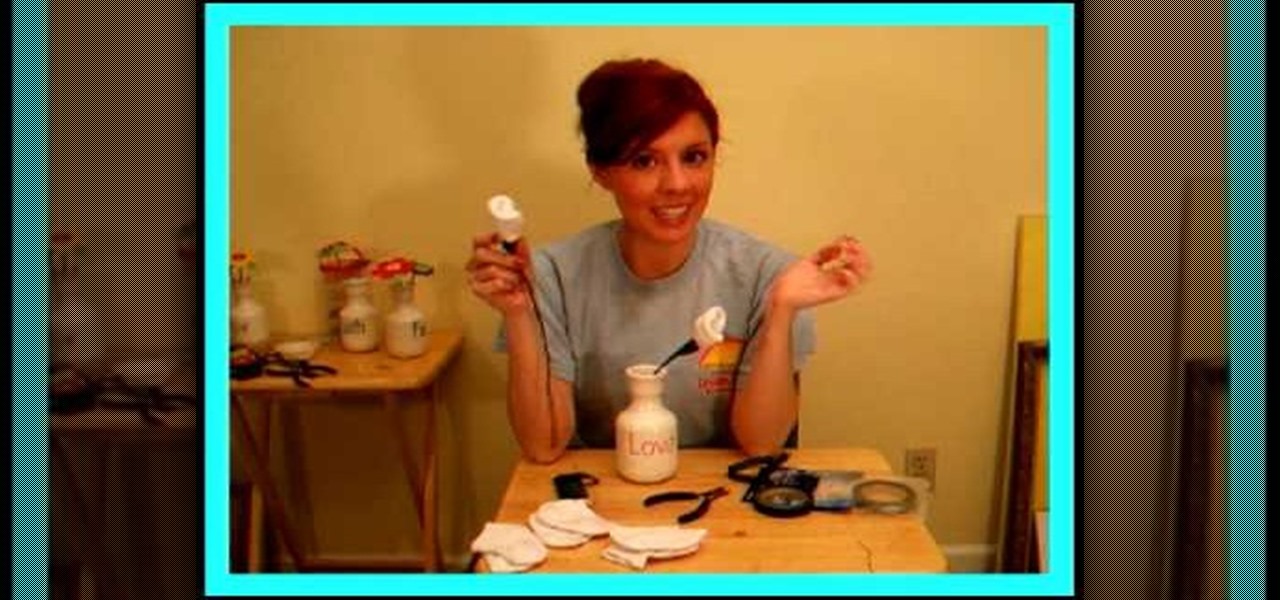
How To: Alter a bottle cap for a scrapbook piece
Bottle caps can be used for so many different reasons. They can be used as cheap weapons, fake money in card games, and even decorations for arts and craft pieces. This tutorial will focus on the arts and crafts aspect and will show you how to alter a bottle cap for a scrapbook project. It's simple, easy, and fun to do. Enjoy!
How To: Make a Tim Holtz inspired tag w/ distress inks & water
This video illustrate us how to make a Tim Holtz inspired tag with distress inks and water. Here are the following steps:

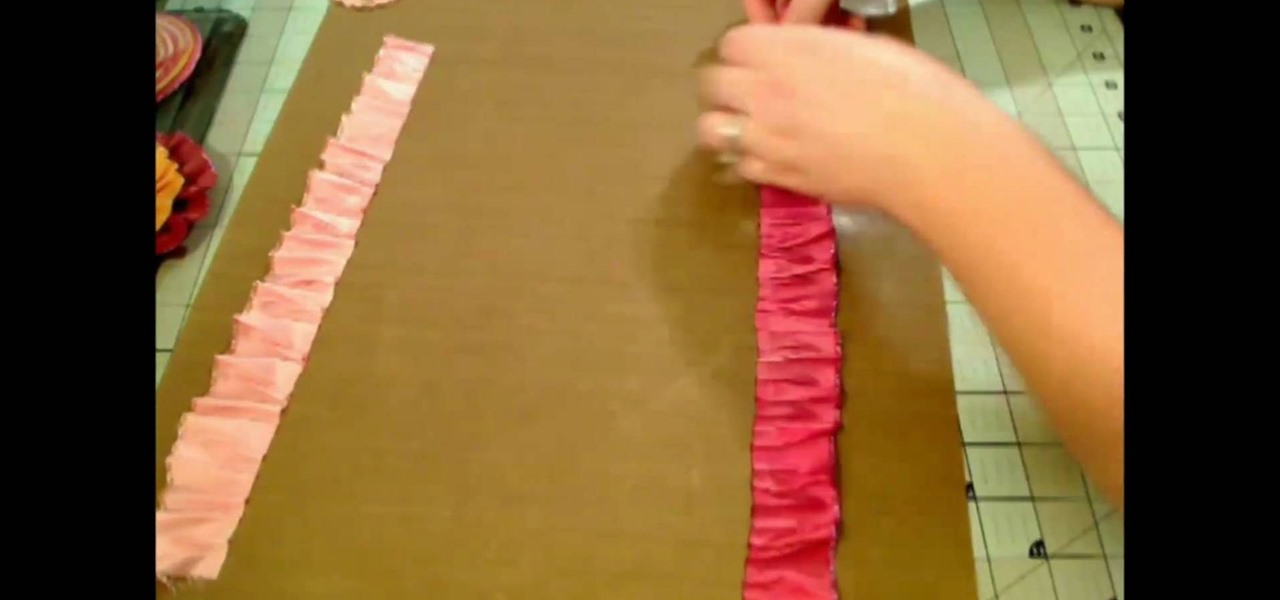
How To: Make a double bow for scrapbooking
This video gives a demonstration of how to make a double bow for scrapbooking. First, cut a short piece of your ribbon off the end. Make this piece about 5 inches long. Next, after leaving a tail of ribbon bend a longer piece of the ribbon over and over, smoothly, until you have 2 loops on each side which creates the double bow. Cut off the end of the ribbon, leaving a tail. Pinch the middle of the double bow. Use the short piece which you cut earlier to tie around the middle of the bow. Adju...
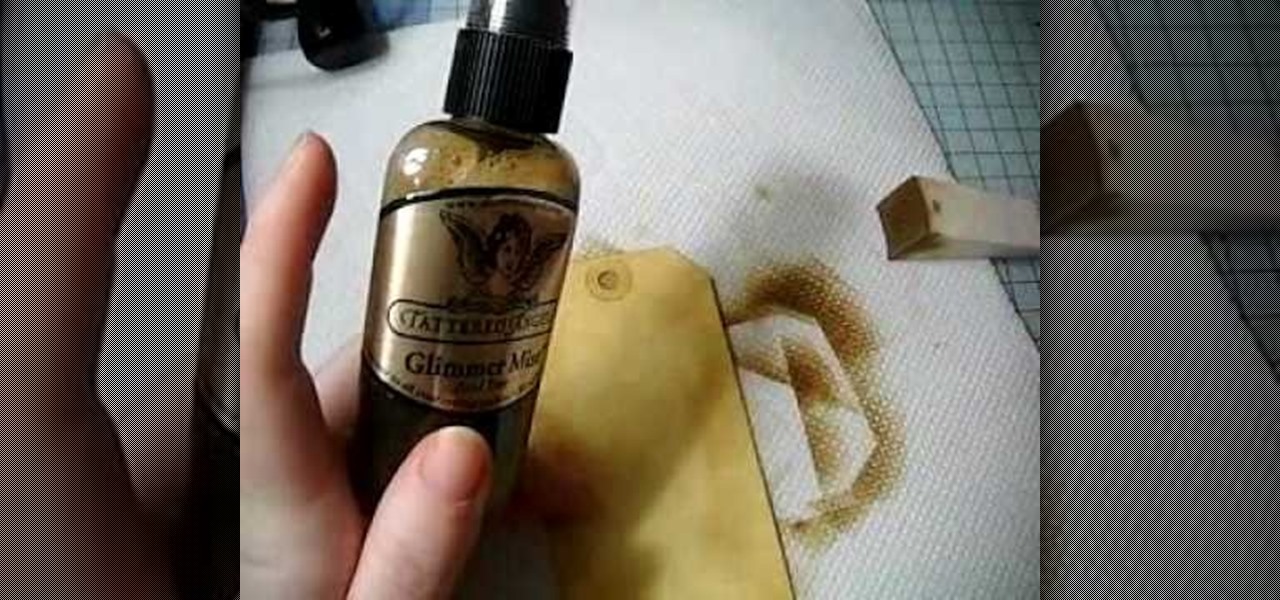
How To: Make a distressed scrapbook tag
In this Arts & Crafts video tutorial you will learn how to make a distressed scarpbook tag. Take two tags, one red color and one yellow color and strip the threads off. Take a light color ‘Distress’ ink on a sponge and dab one side of the yellow tag with it to give it a light rough look. Now take little darker brown ink on another sponge and dab the edges of the tag with it. Then place the tag in a box and spray Glimmer mist on the tag. Dry the tag with a dryer. Now dab some more brown in...
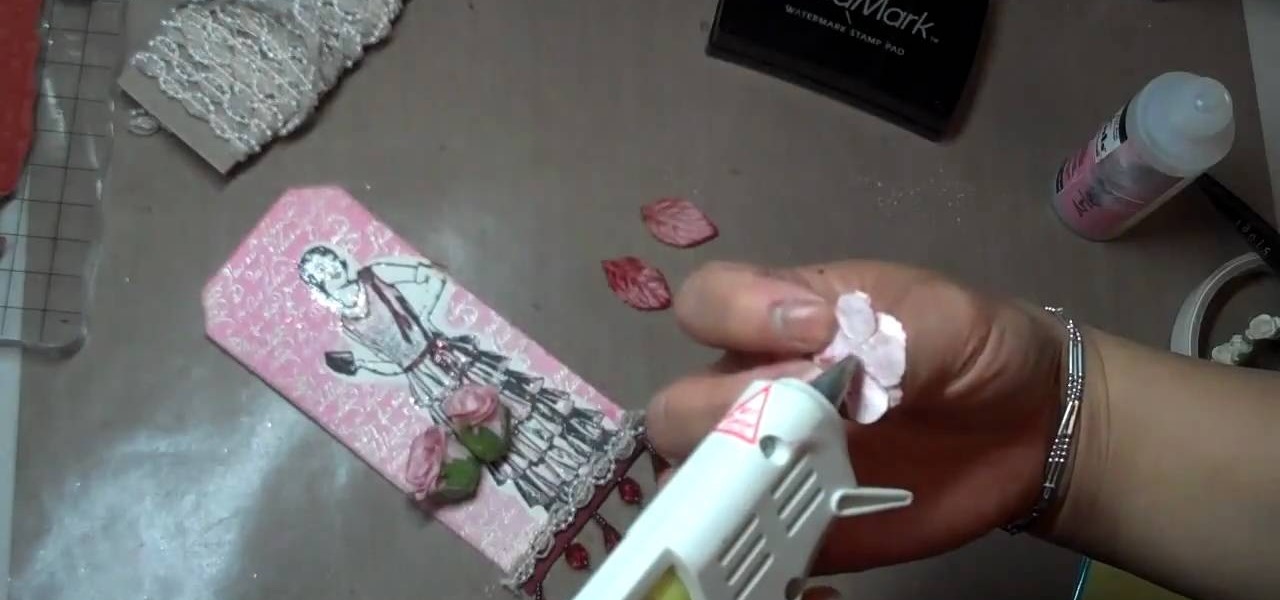
How To: Make a vintage lady tag
Mybutterflykisses12 shows viewers how to make a vintage lady tag! First, You will need a stampof a vintage lady and some cardstock. Dab your stamp with black ink and stamp it onto card stock that is shaped like a tag. Next, you can stamp on vanilla script above the figure. Next, apply clear embossing powder to the tag and then heat this with a heating gun so it can set. Next, place an opaque stamped image of the same woman over the original on the tag. Cover the stamped image before you apply...
How To: Craft a cute pom-pom chicken
Pop pops make very adorable accents for scrapbooking. In this tutorial, learn how to spice up an Easter or spring themed scrapbook with a pom pom shaped like a chicken. This cute little guy makes the perfect addition to any craft project. He is sure to bring a smile to anyone's face when they see him.
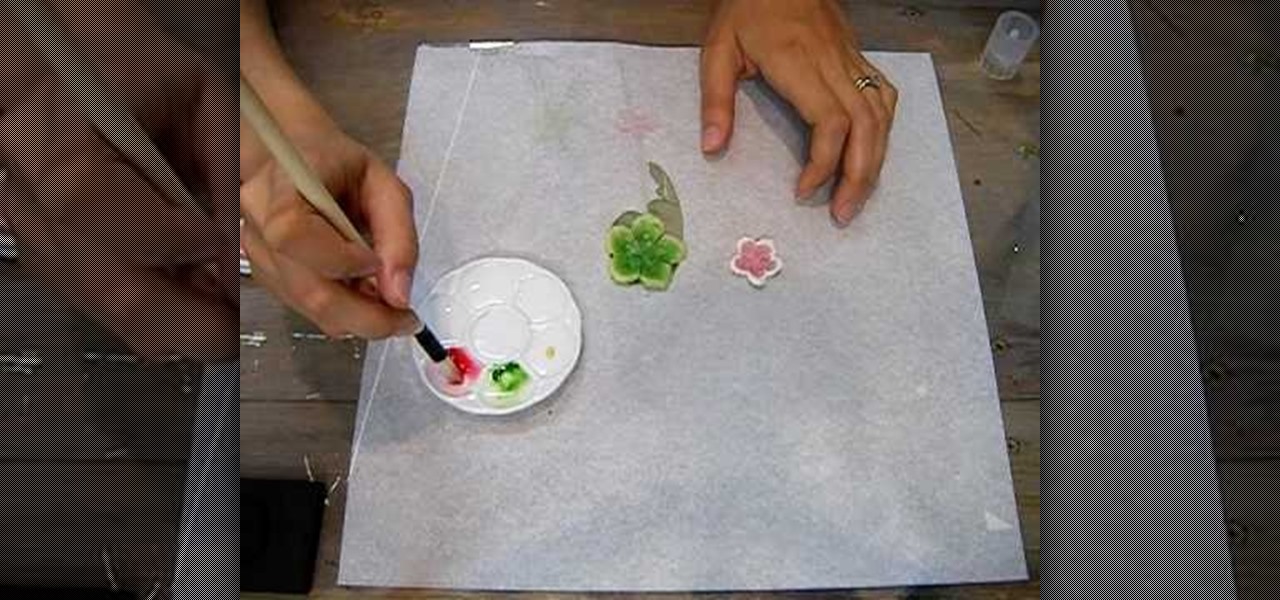
How To: Use Chinese watercolor paint to decorate prima flowers
Supplies needed1. flower cut outs (you can buy them from A Piece of Craft)2. Water colors3. paint brushes4. clean water5. heat gun5. Water color pallet

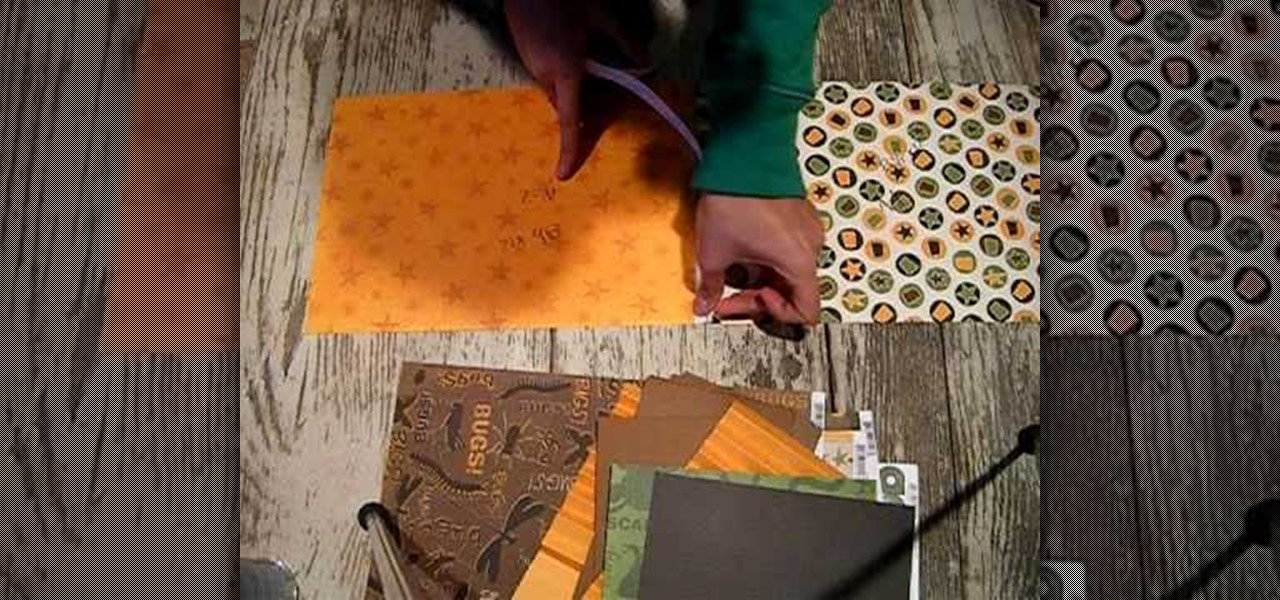
How To: Create an autumn inspired mini-scrapbook
In this multiple part scrapbooking tutorial, learn how to make a 5"x5" fall mini scrapbook. This scrapbook uses fall-themed papers and products to create that autumn look. Use this six-part series as a guide for your next mini scrapbook creation!
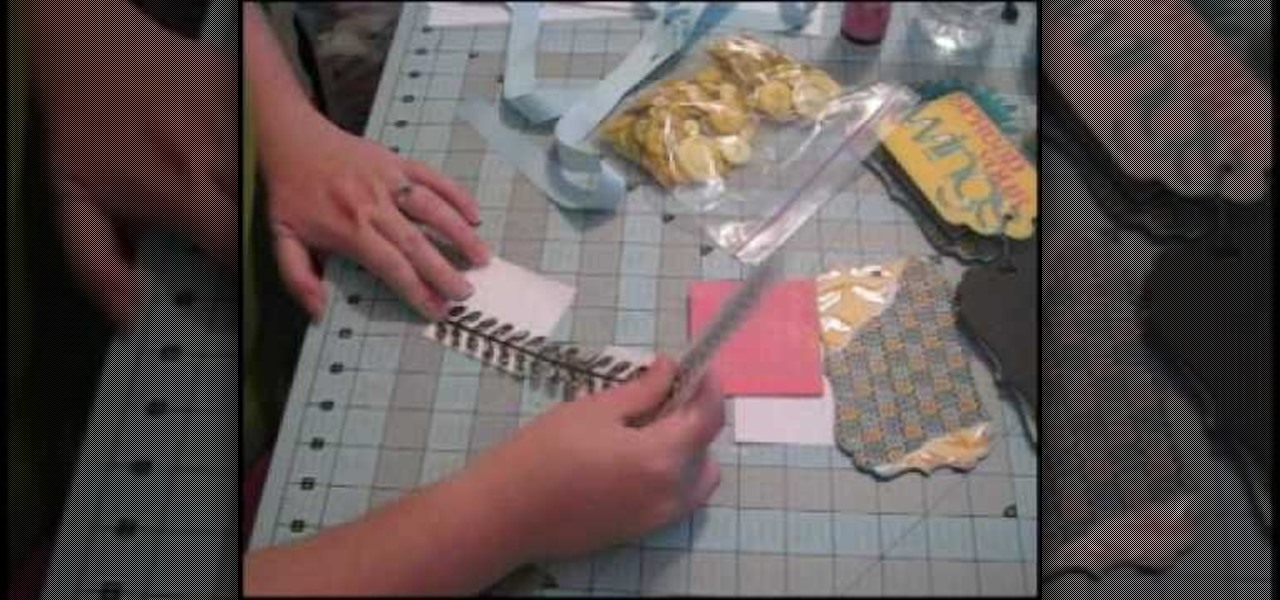
How To: Make a 4x4 mini double accordion album
Maria from [www.stamininspirations.blogspot.com stampininspirations.blogspot.com] shows us how to make a 4x4 mini double accordion picture album. You will need a 4 x 9 in. piece of designer paper, a 4 x 9 in. piece of card stock, a 3.5 x 8.5 piece of designer paper, two 3.5 x 12 in pieces of card stock and two 4 x 4 in pieces of chipboard as well as some smaller pieces of designer paper and card stock and some ribbon. Rubber cement, a scorer and some double sided tape are also needed. Maria s...
How To: Make an Alice in Wonderland story board craft
This video is about how to make a story board craft. In this case the story is about Alice in Wonderland. In this case 3 Eco art boards are taken of a suitable size of 2 1/2"X3 1/2" the left edge is decorated with a lace spray painted with Memorie mist spray, the rest of the card is also spray painted. Now from Queen Kat Designs the stampings are selected and stamped on each board as per the story. Whilst stamping Indian stamping ink is used as it does not smudges. For extra decoration paper ...

How To: Soften edges of paper with ink sponges
Stampinmama1 shows us how to soften edges of paper with ink sponges. When you sponge, you get a little softer look onto the paper. You're going to want to use a round stamping sponge and you would want to cut it up into six pieces to have more control over them. Rub your sponge directly onto the pad, grind it on pretty hard. Go right along the edge of your paper, ink it up again and keep going. You will get a soft feathery edge instead of a fairly bland edge with no soft look to it.
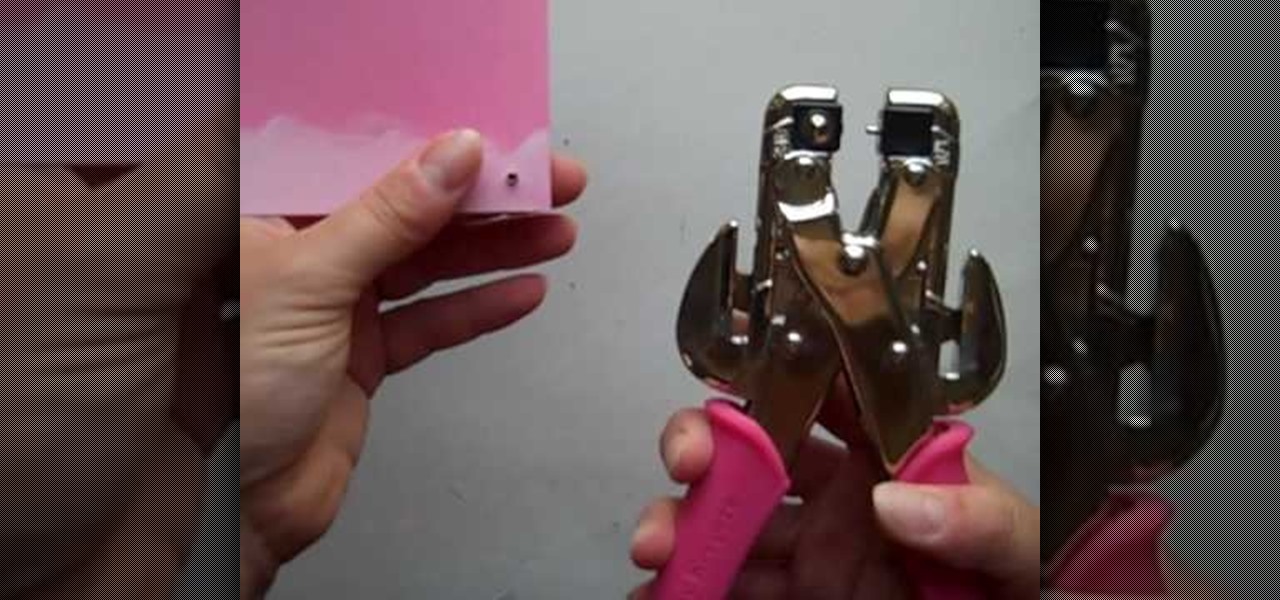
How To: Use the Crop-a-dile to set eyelets
In this video tutorial, viewers learn how to use the Crop-A-Dile to set eyelets. The Crop-A-Dile is a tool that can punch holes and snap eyelets. The sides of the tool allows users to set a measurement for hole punching. This allows for users to make accurate and straight holes. Then put the eyelet on the hole and use the middle part of the tool is set it. Simply squeeze it to bind the eyelet to the paper. This video will benefit those viewers who enjoy making arts and crafts, and would like ...
How To: Use distress powder
Looking to try some new techniques out for your scrapbook pages? In this video tutorial, learn how to use distress powder to get that great distressed look for your pages. Also, learn how to take this technique a step further with UTEE & make the distressed a little glossier and polished looking.
How To: Add texture effects to your scrapbook page with ink
StampinMama1 demonstrates how to add ink texture effects to your scrapbook projects. When creating backgrounds for your scrapbook pages, you can use ink to both create texture and create interesting effects on the layout. Press the ink on the paper to use a direct to paper ink application technique. You can create cool effects like waves using this technique. Don't swipe the pad around or smudge it onto the paper. Instead, drag the ink pad in a motion of waves across the page. Start at one ed...
How To: Make scrapbooking cardstock look like faux suede
In this video tutorial, viewers learn how to create a faux suede technique on cardstock. Users will need a plastic stamp pad. This stamp pad will be used for rubbing, so it should be an extra or an old stamp pad. Users will need to re-ink the pad once in a while. This will give the cardstock a textured look. It will give an old age, distress look. Simply take the stamp pad and rub it over the cardstock. This will pick up the texture of the cardstock. This video will benefit those viewers who ...
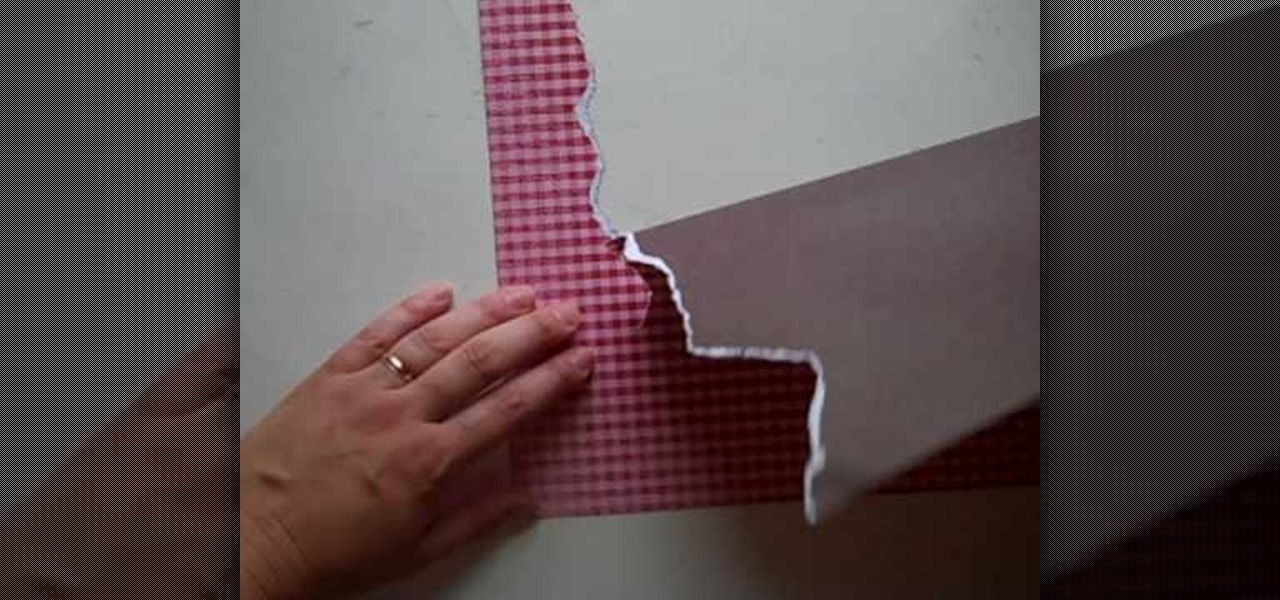
How To: Create scrapbook scenery by tearing paper
Want to create scenery to decorate your scrapbook? You can use torn paper to create this effect cheaply and easily. This video describes how. For example, if you want to create mountains, choose some brown paper, and tear in a jagged pattern, using your finger as a guide. If you want white-capped mountains, tear with the front side facing you. If you don't want white-capped mountains, turn the paper over and tear. You can also create other scenery. The woman in the video creates scenery such ...

How To: Add hemp twine to accent your scrapbook photo
In this video tutorial, viewers learn how to add hemp twine to accent a scrapbook photo. Users will only need a line of twine and tape. Put the twine on one side of the picture and tape the back to hold it. Now wrap the twine in a diagonal pattern (right and left). Then wrap it down the middle and tape the back again to hold it. Trim off the extra twine and tape all the strings of twine at the back, so that it won't move. This video will benefit those viewers who want to add an embellishment ...
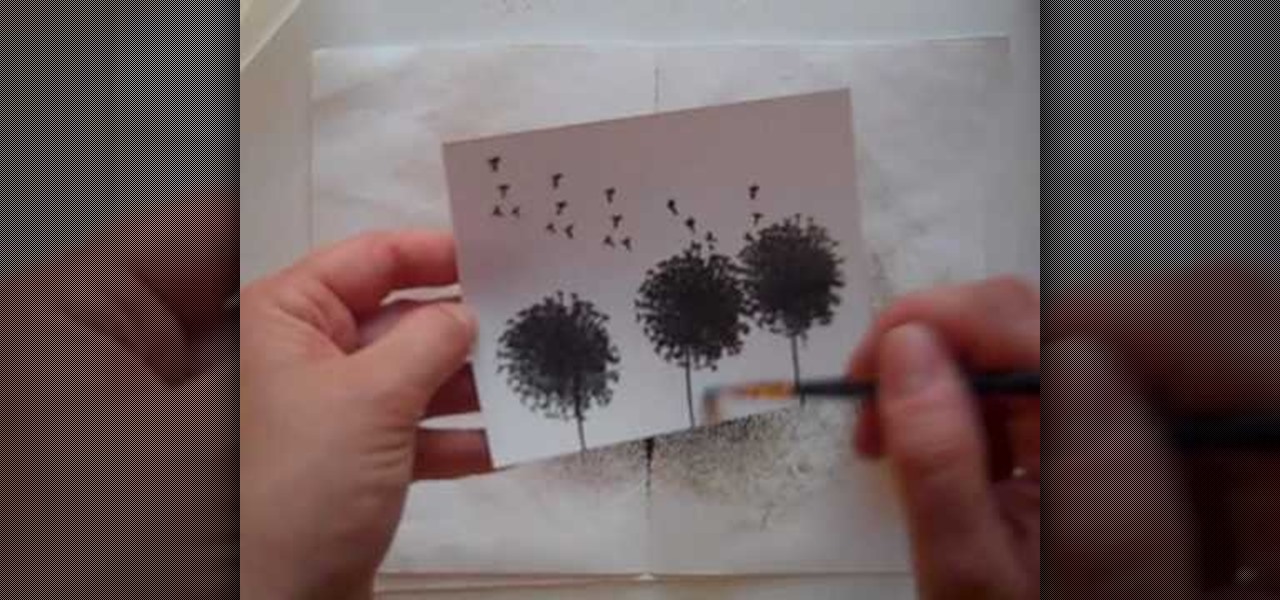
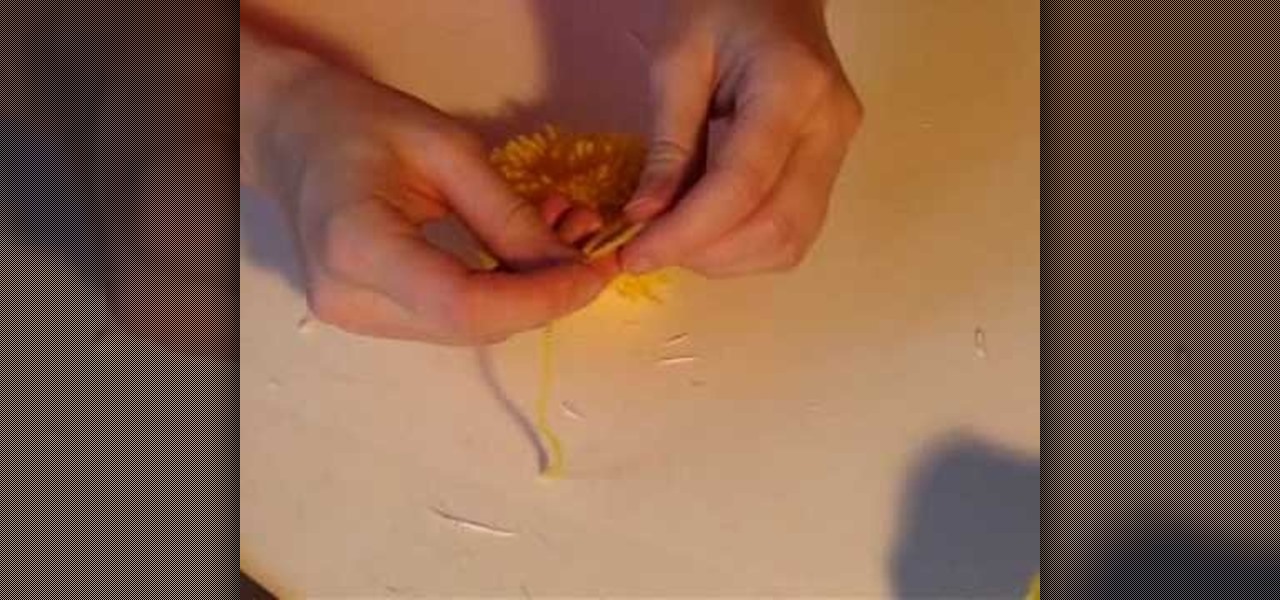
How To: Do the Brayer technique for scrapbooking
Anyone interested in scrapbooking can learn how to do the Brayer technique with ink refills for cards with this video tutorial. You will need a piece of glossy cardstock as well as stamps. Make sure to keep your fingers off the paper to avoid smudging. You will need the dandelion stamp to stamp the cardstock. Add a stem stamp to your flowers followed by the dandelion fluff along the top of your paper. Then, emboss your stamps with black embossing powder making sure to use a separate piece of ...
How To: Save money on your scrapbooking
The cost of scrapbooking can really add up. You can still create wonderful scrapbooks to artistically document your memories by shopping smart and cutting costs by being resourceful. You can use things you already have around the house.
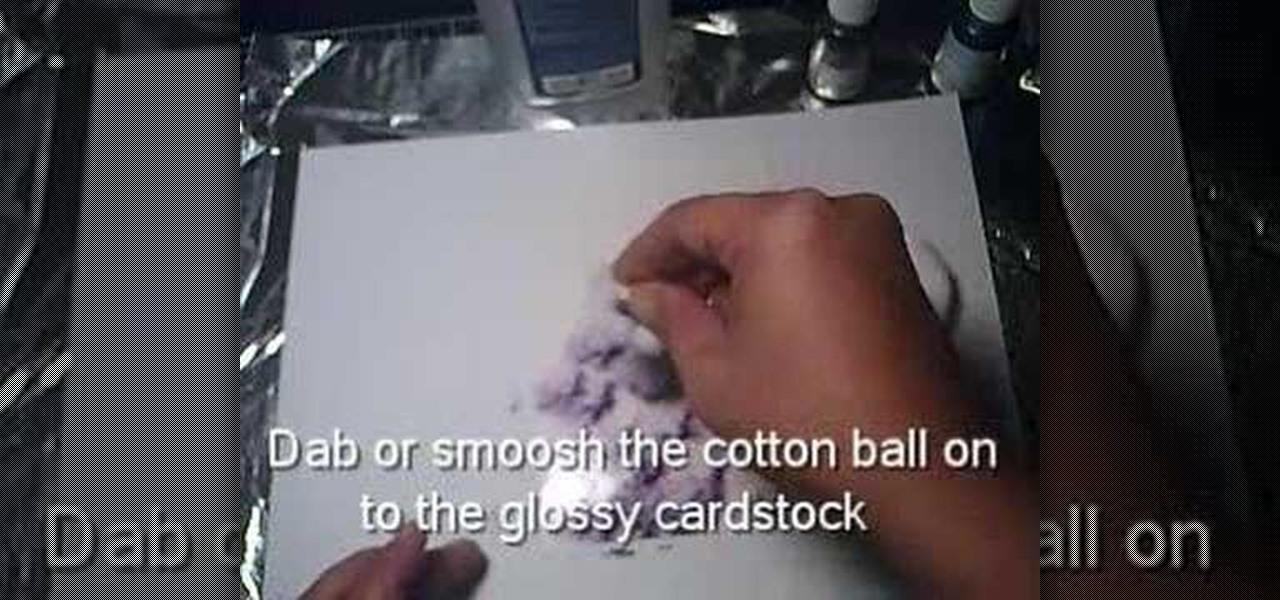
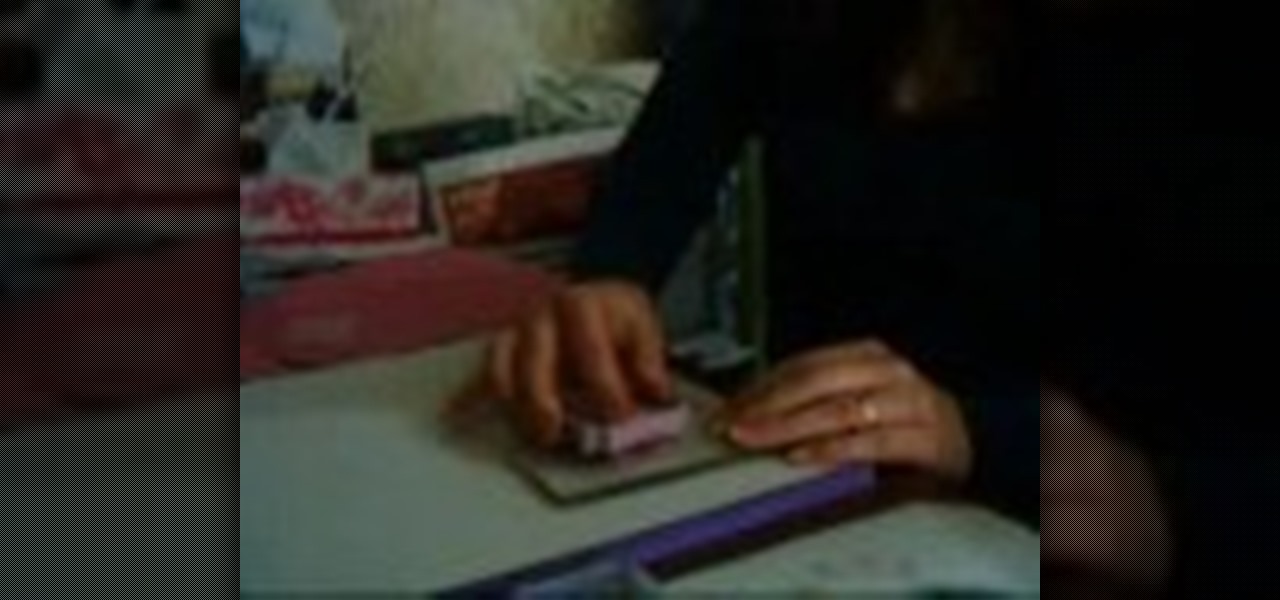
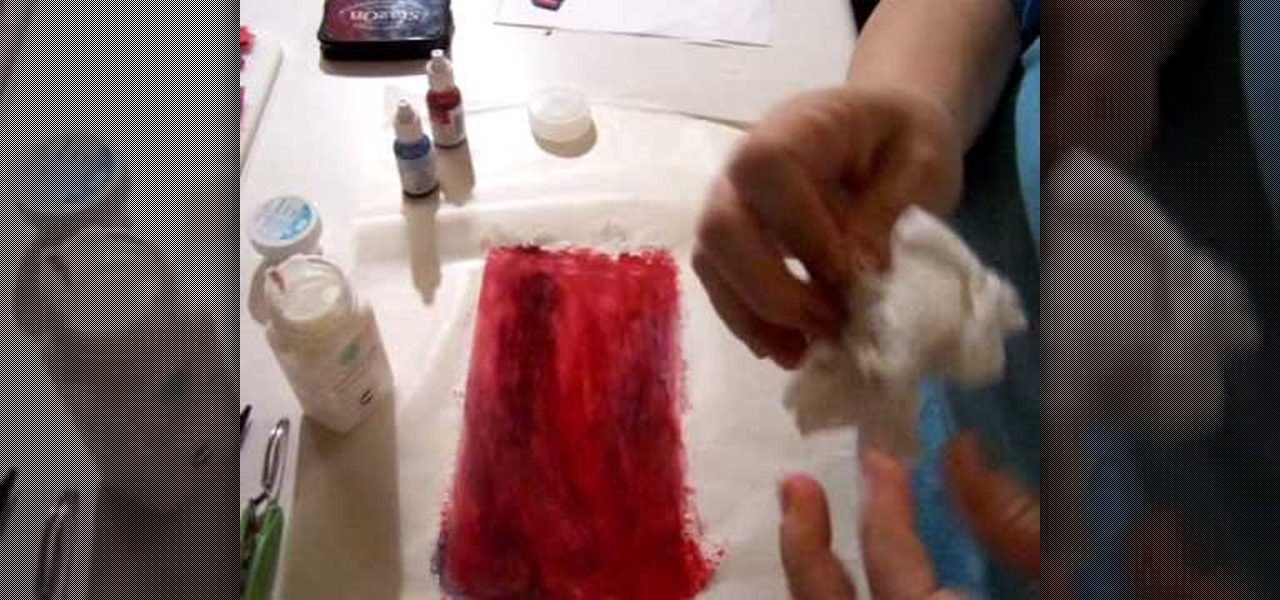
How To: Do the polished stone technique when scrapbooking
You will need: white glossy card stock, 2 ink refill colors, an optional metallic ink refill, cotton ball and rubbing alcohol.
How To: Make silk glimmer misted flower for your scrapbook
Kathryn shows how to Glimmer Mist silk flowers for an additional decoration in scrapbooking. In this tutorial, she uses the Red Velvet and Cherub Pink Glimmer Mist colors. The flower is made with strips of silk. The strips should be cut to your own desire. Using a white gel pen, trace circles onto black paper, which will be the center of the flower. Use a dye to add color to the strips of silk. Before beginning this process, place the strips on a piece of foil to make sure the spray does not ...
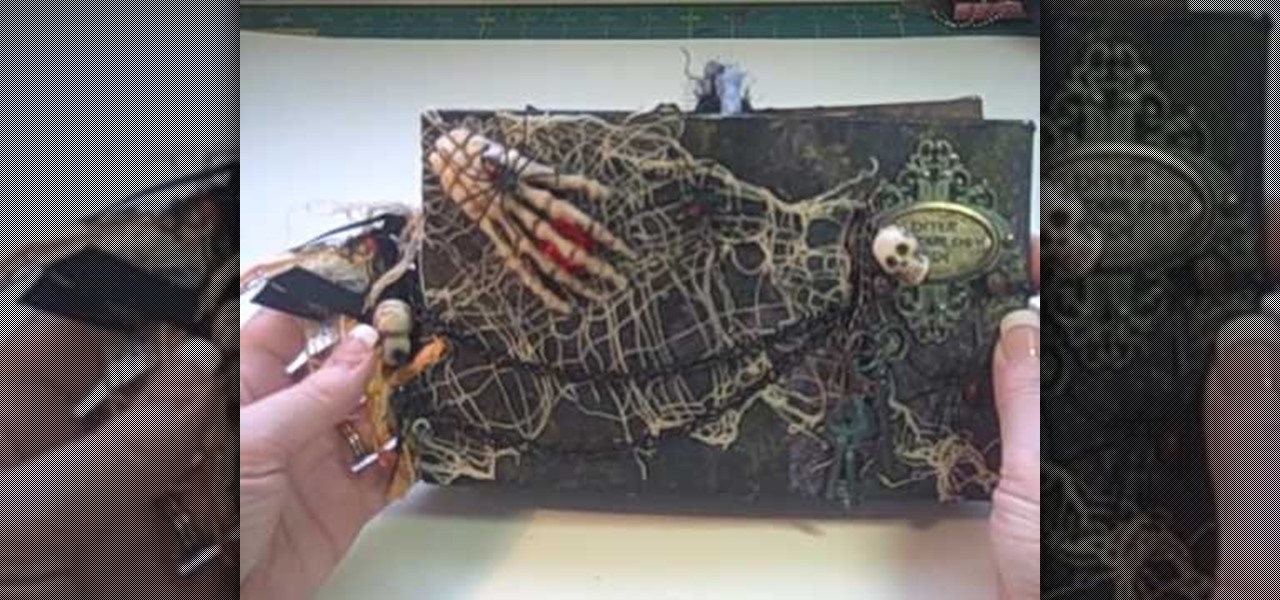
How To: Make a spooky Halloween paper bag mini album
Halloween is just around the corner and this spooky paper bag album you can really create a masterpiece. If you love scrap booking this project would be a blast for you. All items were bought for less than a dollar at the local dollar store and the detailing is quite manageable from intermediate to advanced scrap booking. So if you have time and patience to make this then get ready to create an album ready for any Halloween adventure. In this video you will learn how to make a spooky Hallowee...
How To: Make baby sock roses
How to make decorative roses out of baby socks. All you need is a baby sock and some floral wire and green floral tape. Watch the video to learn how to wrap the sock to look like a rosebud around a wire stem, and then tape the base of the sock well with the floral tape. Continue to wrap the tape all the way down the wire so it looks like a nice green stem. Makes a great gift for expectant mothers as it's not only cute but they can also unwrap them and use the socks for their new baby boy or g...

How To: Make paper lollipop flowers to add to your scrapbook
Sarah20az shows you a quick way of making paper lollipop flowers. You cut 4 circles from 2 different colored pieces of paper. You then take each circle and crumple it up in your hand. You then smudge each of them with an ink pad. You have to make sure that you go one color and then on top of that another one, for the lollipop effect. You pierce all of them using a thumb tack. You can bunch them up and place them on another large piece of paper.
How To: Making paper lace flowers (doily flowers)
To make paper lace flowers, also known as doily flowers, you first need to get some paper lace. Fold the first tip over and then turn the laces over just a little bit. Fold on the straight line every time. Fold three more times. At this point you will see half of your flower. Then continue folding on the straight line until your flower is recognizable. With scissors, trim off the excess. To cover up staples, put a little glue over them and cover them with a nice ribbon.
How To: Create a mini butterfly inspired scrapbook
Kathryn from Life on the (Scrap)beach shows you how to make a mini butterfly inspired scrapbook album.
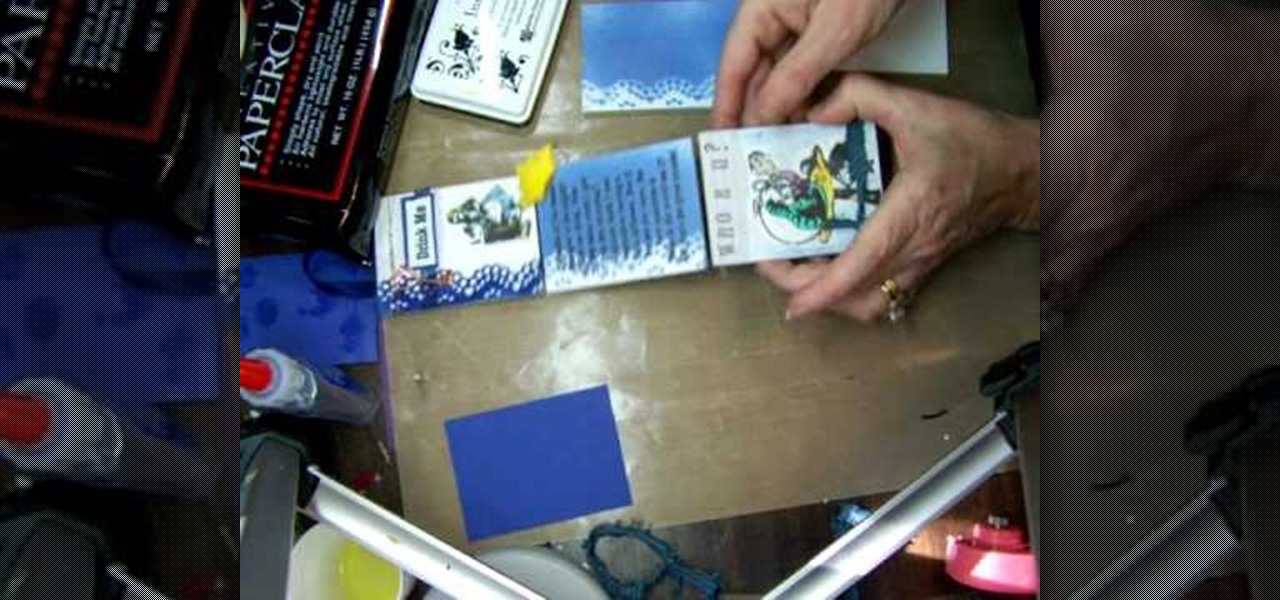
How To: Make a tag book using Tags, Bags, Boxes and more
Instead of buying a pre-made album at a crafts store, crafter Mary shows how to create custom miniature albums that make excellent gifts. You just need
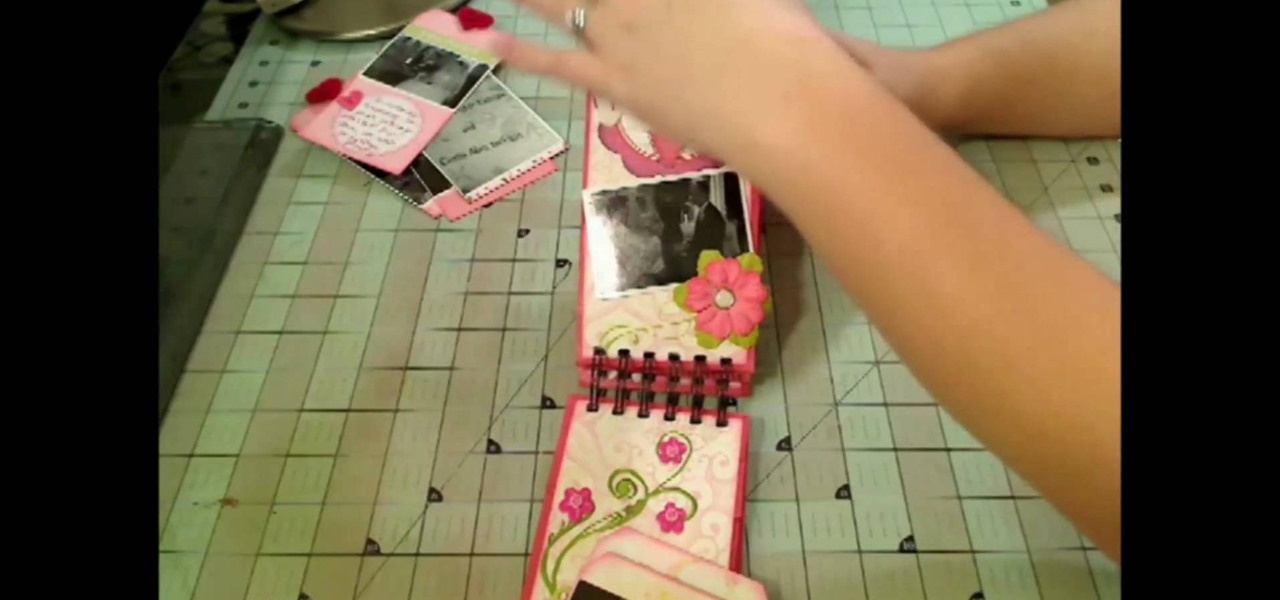
How To: Make a "The 2 of Us" scrapbook paper bag mini album
About a minute into the video, the narrator/instructor, Kathryn, shows the viewers the items that were used in making the mini album scrapbook. She shows the layers in which the contents are placed. She also shows what the finished product should look like, in the beginning of the video. A little past halfway, she shows her audience how the scrapbook is organized. Her prime examples were having a picture on one page and the person's written thoughts on the adjacent page. With each page, Kathr...
How To: Get a stain glass effect for your scrapbooking
This video is a step by step demonstration of how to make a stained glass effect for cards or scrapbooking using glue, colored ink and sparkles on acetate. This is not for beginners, this is an intermediate level project for experienced stampers. You will be able to understand the process and will be able to copy it by the end of this six minute video. The audio instructions are easy to follow and the visual demonstrations make it very easy to learn.
How To: Make an expandable keepsake photo box
Looking to make a homemade keepsake box for someone special? In this two-part scrapbooking tutorial, learn how to make an adorable expandable keepsake box with help from A Piece of Craft. Marion shares a super girly version of this box she made for her young daughter and goes through how to build one yourself.

How To: Get started scrapbooking
You have many great memories to share. Why not collect them all in one book? Learn the fun and meaningful craft of scrapbooking. In this video how-to, learn how to get started on your scrapbooking adventure.
How To: Select the right album for a scrapbook
Looking to make a special scrapbook? You've got the "scraps"—now you need the book. Before you rush out and buy the first flashy binder that grabs your eye, put a little thought into what you really need.